Products
Solutions
Resources
9977 N 90th Street, Suite 250 Scottsdale, AZ 85258 | 1-800-637-7496
© 2024 InEight, Inc. All Rights Reserved | Privacy Statement | Terms of Service | Cookie Policy | Do not sell/share my information

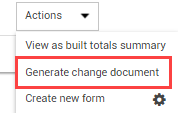
When you are ready to create a change document, you can generate it from one or more templates. Go to the Actions drop-down menu from any issue, PCO, or CCO, and then select Generate change document to start the Change writer wizard. The Change writer wizard supports standard or bulk processing.
Move one or more templates from the Available templates column to the Selected templates column.
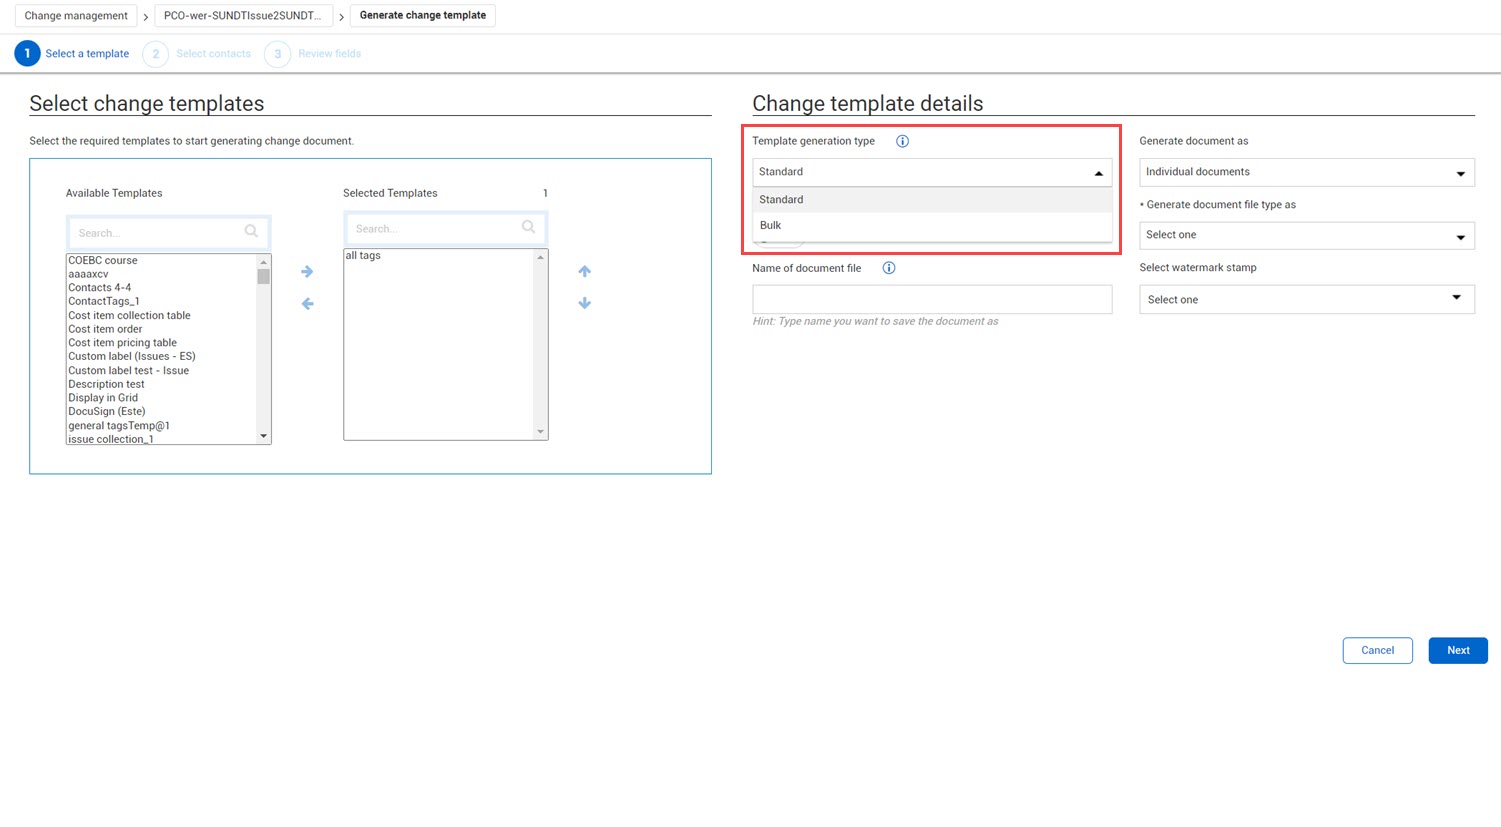
Use the up and down arrows to the right of the Selected templates column to change the order of the templates, if needed.
In the Change template details section, select the Standard template generation type.
Select one of the following in the Generate document as field:
Individual documents to get a separate document for each template you selected.
Merged document (PDF only) to merge the templates into a single PDF document.
If you selected Individual documents in the previous step, use the Generate document file type as field to indicate whether to download as a template file type or download as a PDF. If you selected Merged document in the previous step, skip this step.
Use the toggle to indicate whether to save the contract document in the Supporting documents tab.
If you choose to save in the Supporting documents tab, add the name of the document. After the document is generated, the name shows in the Title and the File/Link columns on the Supporting documents register.
Select the watermark text. If the organization-level settings require a document, the Select watermark stamp field is required. Also, if the organization-level settings require a watermark and the end watermark event has not occurred, the Select watermark stamp field is required. If the end watermark event has occurred, the watermark is optional.
If Change writer detects a template contact tag, processing moves to the Select contact step. If no template contact tags are detected, the Change document wizard skips this step and moves to the Review fields step.
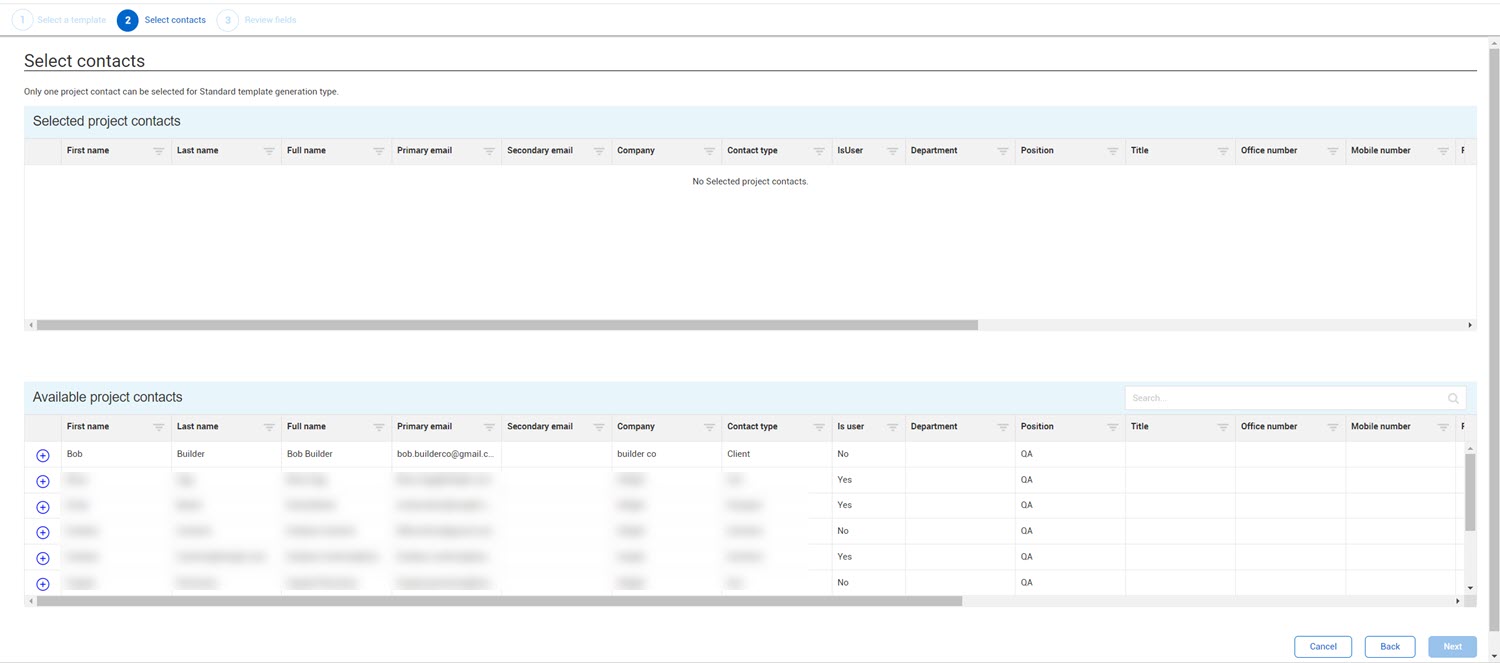
Select one contact from the contact list, and then click Next. Processing moves to the Review fields step.
If no contacts have been configured in the project contacts, this step is disabled. You can either go back, so you can remove the templates that have template contact tags, or cancel.
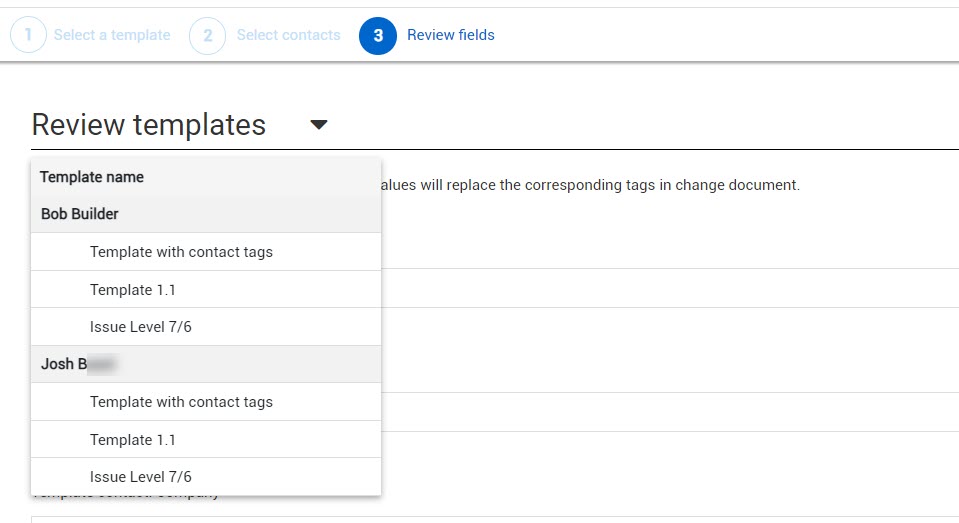
On the Review fields step page, expand to Review templates page to see a list of all templates used. If you specified a contact, the contact name is also shown. The review dialog box lets you edit or add information to the fields that will populate the document after it is generated. Any field that is blank is not added to the document, and you cannot add information later.
Review the fields and enter any information in the fields that apply to your issue. When you use an issue or PCO template type at a higher level and choose to generate the document as individual documents, Change generates a separate document for each issue or PCO. When you choose to merge the document into a single PDF, the document uses the template for each issue and merges it into the single document. When you review the templates, the project name and the fields are repeated for each issue.
The <<Blankn>> tag, where n is a value in the range 1-15, shows in the downloaded tag list. The tag serves as a placeholder in your template where the text can be entered to appear in the fields when you review the template. When you generate the Microsoft Word document, the text is replaced with what you entered in the review. You must enter text each time you generate the Word document. If you do not enter values in the Review fields, the <<Blankn>> tag is shown in the Word document.
After you have reviewed all changes, you can see a preview of your document by clicking the Preview document button. The preview opens in a separate window with the tags filled in. If you used collection tables in any of your templates you cannot view them in the preview document. The content of the preview varies as follows:
If you selected Download as a PDF document when you generated the document, the preview contains all of the templates in the order you specified.
If you selected Download as individual documents when you generated the document, the preview contains only the template that was displayed when you clicked Preview document. You can preview other documents by selecting the file from the Review templates list and clicking preview document.
Click Finish. If you use templates from other levels, multiple completion messages are shown.
If you created a merged document, Change writer downloads a PDF that includes all of the templates. If you created individual documents, Change writer downloads a PDF for the selected template only.
You can use bulk template processing when you want to generate separate change documents in a single action. When used in conjunction with templates that contain template contact tags, you can customize a document for each specified contact.
If you want to generate customized documents, you must include a template that has template contact tags. Contacts must be assigned in the project's Assigned contacts (project > Assigned contacts).
Move one or more templates from the Available templates column to the Selected templates column.
Use the up and down arrows to the right of the Selected templates column to change the order of the templates, if needed.
In the Change template details section, select the Bulk template generation type.
Use the toggle to indicate whether to save the contract document in the Supporting documents tab.
If you choose to save in the Supporting documents tab, add the name of the document. After the document is generated, the name shows in the Title and the File/Link columns on the Supporting documents register.
Select the watermark text. If the organization-level settings require a document, the Select watermark stamp field is required. Also, if the organization-level settings require a watermark and the end watermark event has not occurred, the Select watermark stamp field is required. If the end watermark event has occurred, the watermark is optional.
If Change writer detects a template contact tag, processing moves to the Select contact step. If no template contact tags are detected, the Change document wizard skips this step and moves to the Review fields step.
Select up to 10 contacts from the contact list, and then click Next. Processing moves to the Review fields step.
If no contacts have been configured in the project contacts, this step is disabled. You can either go back, so you can remove the templates that have template contact tags, or cancel.
On the Review fields step page, expand to Review templates page to see a list of all templates used. If you specified contacts, the templates are listed for each contact name.
Click each template to review the information. The review dialog box lets you edit or add information to the fields that will populate the document after it is generated. Any field that is blank is not added to the document, and you cannot add information later.
Review the fields and enter any information in the fields that which apply to your issue. When you use an issue or PCO template type at a higher level and choose to generate the document as individual documents, Change generates a separate document for each issue or PCO. When you choose to merge the document into a single PDF, the document uses the template for each issue and merges it into the single document. When you review the templates, the project name and the fields are repeated for each issue.
The <<Blankn>> tag, where n is a value in the range 1-15, shows in the downloaded tag list. The tag serves as a placeholder in your template, so text can be entered in the fields when you review the template. When you generate the Microsoft Word document, the text is replaced with what you entered in the review. You must enter text each time you generate the Word document. If you do not enter values in the Review fields, the <<Blankn>> tag is shown in the Word document.
After you have reviewed all changes, you can see a preview of your document by clicking the Preview document button. The preview opens in a separate window with the tags filled in. If you used collection tables in any of your templates you cannot view them in the preview document. The preview contains all of the templates in the order you specified.
Click Finish. If you use templates from other levels, multiple completion messages are shown. Change writer downloads a PDF that includes all of the templates.
Additional Information
9977 N 90th Street, Suite 250 Scottsdale, AZ 85258 | 1-800-637-7496
© 2024 InEight, Inc. All Rights Reserved | Privacy Statement | Terms of Service | Cookie Policy | Do not sell/share my information